I am so excited to share with y'all how I reached 2,000 Instagram followers. On Christmas 2014, I decided to turn my Instagram into a fashion, beauty, food, and lifestyle feed. I was able to reach 2,000 followers in just two months. Before I get started, I just want to make sure to mention results might be different for everyone. I cannot guarantee these methods will work for everyone, but it worked for me, and I believe it could be useful to many others.
If you are interested in tracking your progress, I recommend creating an account at Iconosquare formerly known as Statigr.am. This will allow you to see how many followers you are getting each week, who is unfollowing you, which hashtags are working, and many more awesome stats. One of my favorite stats tells you when is the best time of day to post, each day of the week. I know when to plan my photos, and to rest at less ample times. You also get images like the one above at Iconosquare, which you can email yourself, and keep track of your progress in images. I am still a little new to Iconosquare, so I am probably going to skip over a lot of other benefits of using this site, but I will follow up later with a blog post dedicated just to Iconosquare.
I also did not understand very much about Instagram when I first started, but now it makes a lot more sense thanks to advice from other bloggers, such as Quick Sprout, in the article "The Science of Instagram: How to Get More Followers and Likes". Here, I discovered what are the most popular hashtags and filters. This is also where I discovered Iconosquare. There is so much information in this article, I highly recommend reading it thoroughly and bookmarking it, because you will be referring to this article over time.
If I were to give one tip to immediately start increasing your followers, it would be to like as many photos from other accounts as possible. I will warn that Instagram does have caps on how many followers, likes, hashtags and characters allowed per hour. You can read more about that here at Jenn's Trends. I discovered this one day when I thought following a lot of people would increase my followers. After so many followings, I had to wait until the next hour to add more. I suggest liking many photos before you spend time following a ton of people. You are also only allowed to follow 7,500 accounts on Instagram. The reason for this was to keep spammers to a limit.
Another tip I want to share is about learning how to target hashtags when you are liking photos. I am a fan of Ipsy and Julep. I get their monthly subscription boxes, and there are thousands of others with this same interest. What I like to do is go to these two hashtags, #ipsy and #julep, for example, and like as many of the people with similar stuff as myself. Or if I go on vacation, I will look for similar tourist photos under more specific hashtags, such as #worldaquarium. I find that I get a lot of followers this way, but I cannot say for a fact that it is more effective than liking random photos under the Discover or Populars page on Instagram. But I can say I get a lot of followers. I think you find more solid followers this way, than just liking popular posts. I find that accounts with less followers are more likely to follow back and stay a follower than more popular accounts, but it is not always the case.
Also, make sure you post high quality photos. I recommend posting a few photos throughout the day. I do not know how many is too many yet, but I myself post between three and twelve photos a day. Every now and then I find my less quality photos are still getting likes and comments, but you will get more followers if your lighting and focus is done well. The thumbnail of your image should be clear to make out from afar. I would recommend looking into online education for beginner's photography at websites, such as MOOC and Open2Study. I sell items on Etsy, and one of the benefits of doing that is the education available to sellers. My first product photos in 2009 looked nothing like they do now. I learned from taking many pictures, and reading advice from other sellers and bloggers, as well as these online education sites. Everything I know is self-taught.
I just want to leave one last word about how much time I spend on Instagram. Typically I am on Instagram between two and twelve hours a day. On average, I would say I spend six hours a day on Instagram. I also have other work, so the only way I am able to post so many pictures is to take pictures ahead of time, and release them little by little. When I first started posting on Instagram, I would post all of my pictures at once, and then have nothing else to post for the rest of the day. And this is not as effective. So make sure you build an inventory on your phone or elsewhere to post throughout the day, so that you can use Iconosquare and discover your best time to post pictures.
I hope this article was useful. If there are any questions, please leave them below. I will follow up with another post if I get a lot of questions. If not, I will still write a post about Iconosquare once I learn a little more about it. Don't forget to follow me on Instagram @dressdynamicdallas. I also have a YouTube channel, where I will also be posting a video about "How to Get 2000 Instagram Follower" in the next week or so. I'd love your feedback.
-xoxo-
Stephanie
For this tutorial, you will need felt of various colors, whichever you desire. You will also need scissors and some sort of fabric glue. It might also be useful to have a pen or pencil for outlining your shapes.
I first cut out the shape of the bag in two pieces of felt, making sure to make it about two or three inches bigger, because that is where we will tie the bag together. Next cut around this half oval shape slits about one inch wide. Take the slits from each of the two pieces of half oval-shaped felt, and starting on one corner tie the pieces together all of the way around.
Next, cut out shapes for the owl. Two white circles and two smaller black circles for the eyes, and an orange triangle will be for the beak. I made half oval shapes of various colors for the feathers, and I made the owl shape by folding the felt in half and cutting the outline of one side of the owl, so that when you open it up you have two exact same sides. Also, don't forget to make some sort of owl foot shape. You will need a long ten or fifteen by one inch piece for the handle. When you are finished cutting the pieces out, now apply them all to the felt with fabric glue and let it dry.
You can make so many different animals or shapes with these bags. Have fun with it, and let me know if you tried this tutorial. I used to be an activity coordinator for children and developmentally disabled individuals, and this project was definitely a hit for both guys and girls.
I said I was going to write a blog post about DIY gifts, and I got so excited that I started writing it right away. Since I'm so strapped for cash all of the time, I love making things to give as gifts. I love the reaction I get, and they really mean a lot more than just purchasing something. Although, I do argue that it's always the thought that counts.
This year I made a photo book for someone's birthday of all of the things we did together as a family, and other special moments in our relationship. There were many hours dedicated to things like colors, fonts, and photo placement, but it was worth the effort. I used a Groupon code to purchase an inexpensive photo book from an online photo ordering website. Although my book was more expensive than I planned, I also learned there are other photo websites with legitimate savings. So don't back out! You can also go to any photo editing software or Powerpoint, and create a slide show with music. I made one of these slide shows for my mother on Mother's day, and she definitely enjoyed it so much she cried.
In my last post I wrote about a pressed flower iPhone case I am working on. I also make jewelry with a similar concept, where I take pre-cut shapes of glass, and glue to the back pictures I trim from magazines. I've given away many necklaces and earrings with this design, and received many compliments. Check out my Etsy shop for an example of what the jewelry will look like. You can also use larger pieces of glass and create paper weights or bookends.
There are so many DIY ideas online, I could really talk all day about it. I'm also obsessing over homemade advent calenders and 12-days-of-Christmas idea. Check out this Pinterest board for some advent calender ideas. Also, check out this Popsugar post about the best DIY gifts. Let me know if you have any suggestions for DIY gifts.
-xoxo-
Stephanie
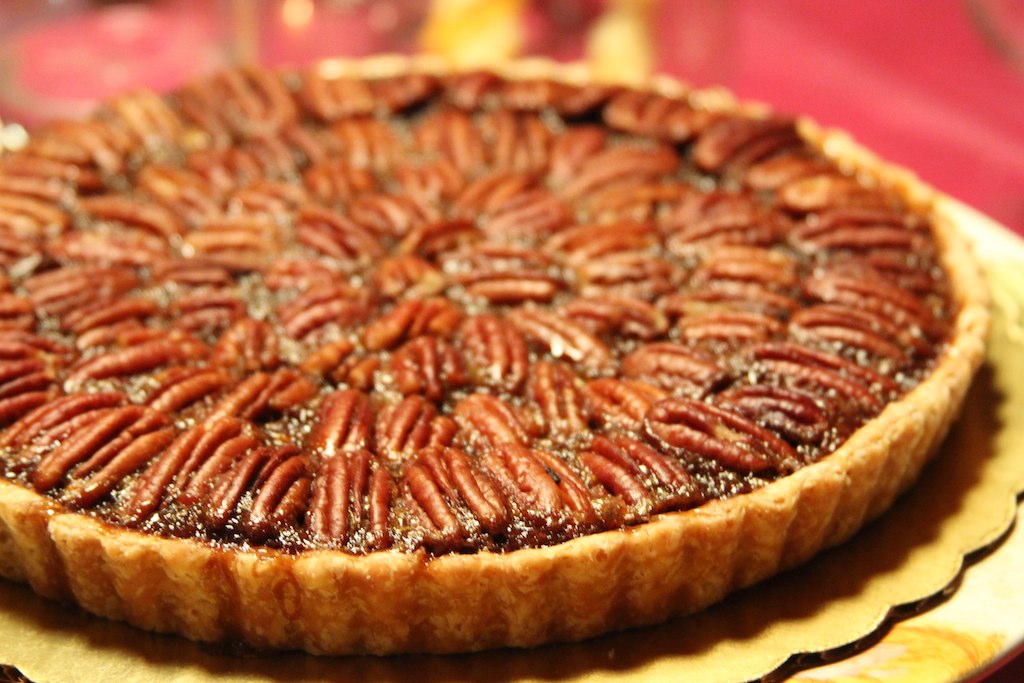
Today went by quickly. It's the beginning of Thanksgiving week, and there was lots of shopping to be done. I'm responsible for the peas with bacon, and pecan pie. Last year was my first attempt at making a homemade pecan pie, and it came out better than I expected. I made it the morning of, so it was fresh and marvelous when we cut into it. I'd like to do the same thing this year, only this time I'm making my own pie crust. Can't wait to share!
I also did a little online shopping this weekend, and earlier today. I've been needing a new pair of black heels because I wear them so often, they get way past their prime. Since I go through heels so quickly, I don't like to spend very much on them. I've learned that it's best to have at least two pairs of heels in nude and black--one pair for work and another for nice occasions. I like to shop at 6pm, and I find inexpensive heels I always love. Today they had an extra 15% off coupon, so bought these babies.
I've also been in need of a better shampoo, so I used my birthday coupon code for 15% off their PRX Reparatives shampoo. I have not tried it before, but I know their other shampoos work well. I also have a ton of conditioner, so for now I only bought the shampoo. A few months ago I went to the Fredrick Fekkai here in Dallas, and I really enjoy my haircut. I have received several compliments, and I look forward to going back many more times.
I'm also a huge fan of homemade gifts. One of my ideas this year, besides jewelry, is one given to me by the person I am gifting it to. I received an email one day with this adorable DIY craft idea on Etsy for making your own pressed flower iPhone case. I usually save my bouquets, and let them dry out. I also have some vintage pressed flowers from a craft store I would love to combine to create one of these lovely gifts. I purchased a clear iPhone 5 case from Amazon for less than two dollars. Light bulb! I'm thinking because I love DIY crafts so much, I will have to share a blog post in the near future about some of my other DIY crafts.
I hope everyone had a blessed and joyous Monday. May your Tuesday be just as special, as well as the days that follow.
-xoxo-
Stephanie